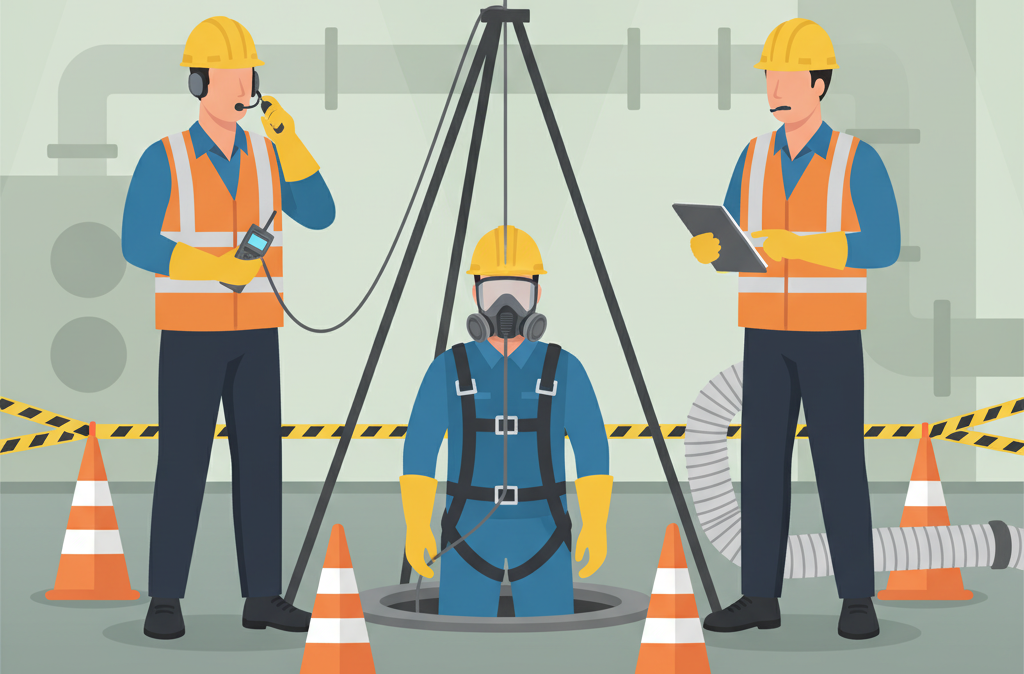


When a hazardous materials spill happens, everything changes in seconds. What you do next can mean the difference between a small cleanup and a major disaster.
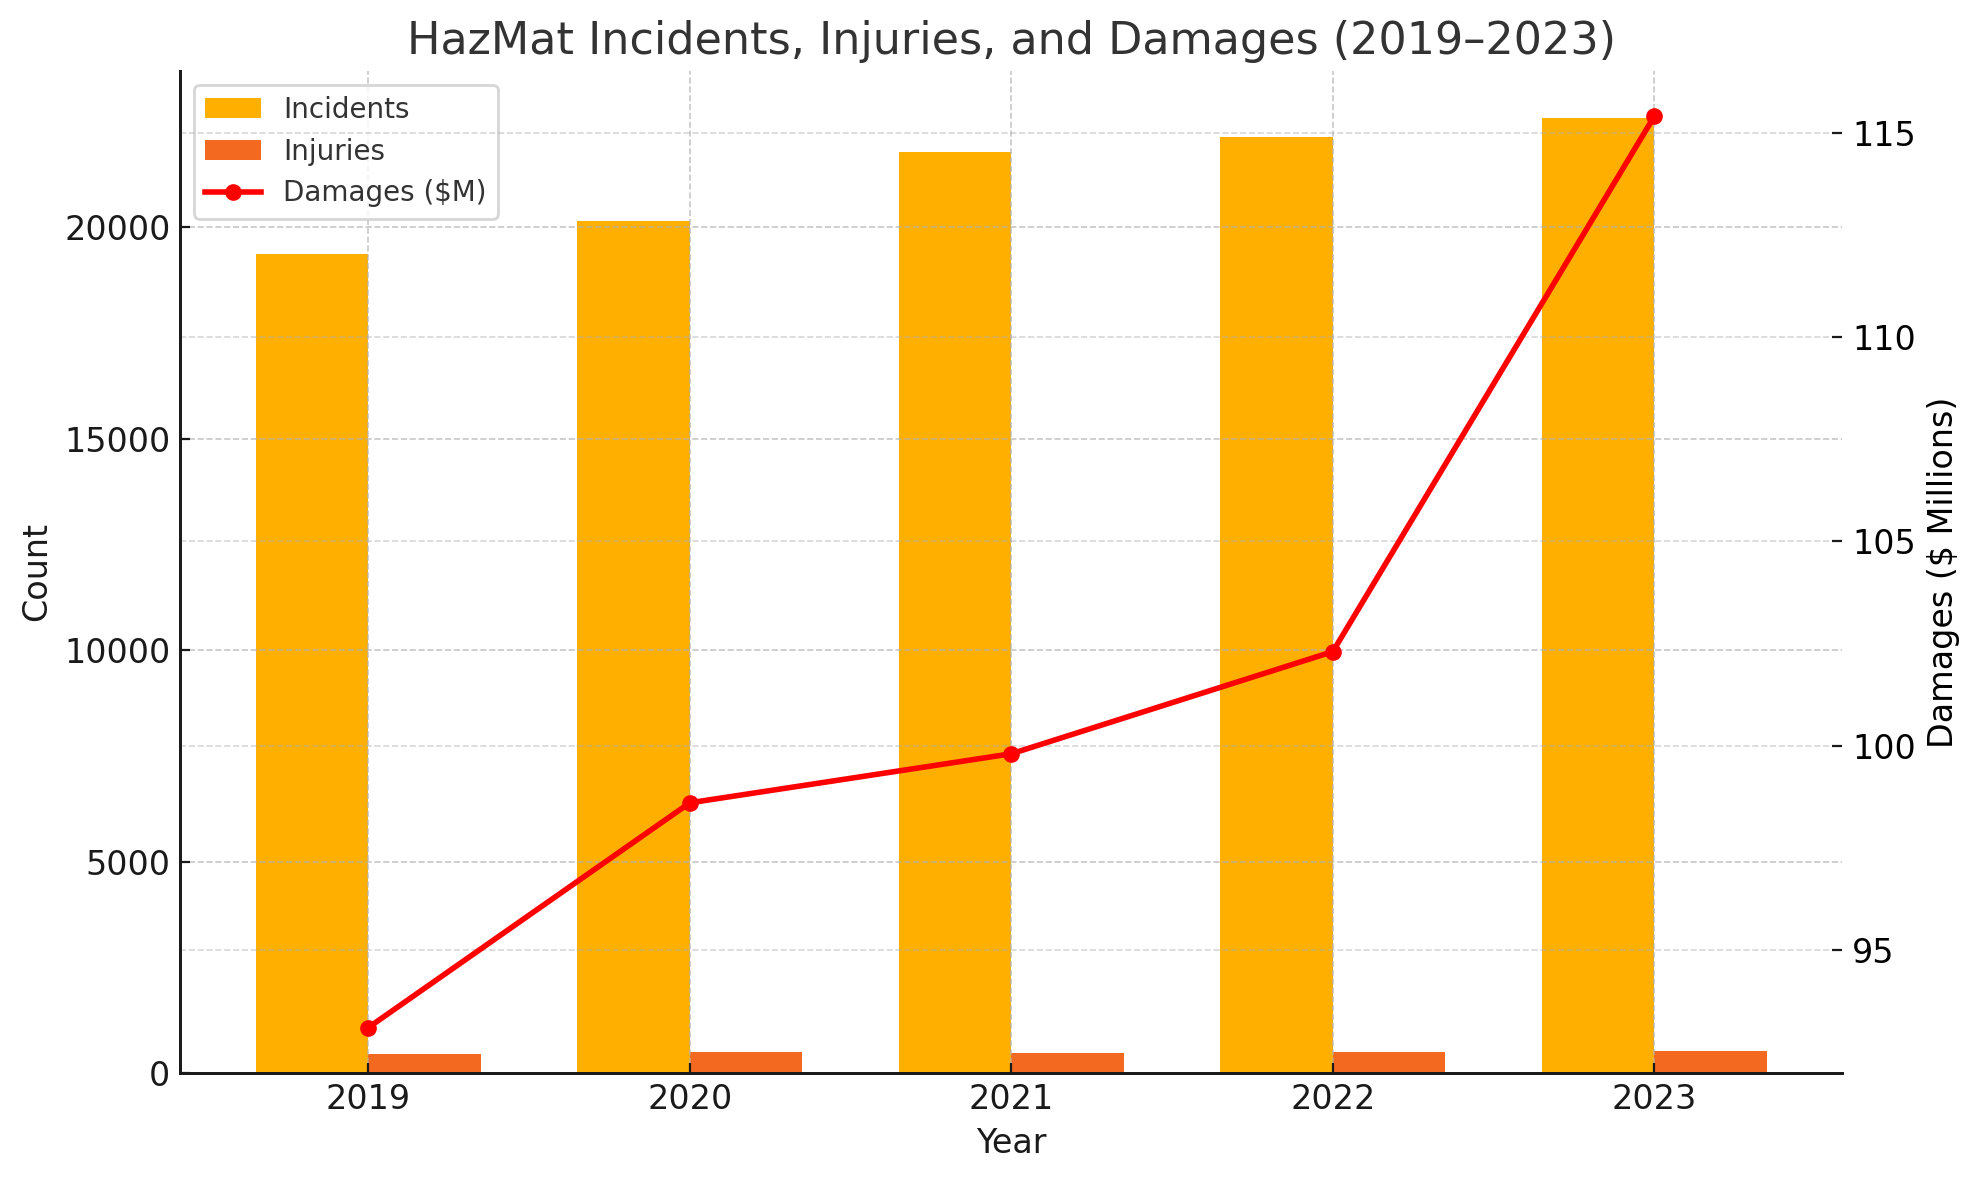
According to the U.S. Department of Transportation, there were more than 22,500 hazardous materials incidents in 2023, causing $115 million in damages. That’s not just a number, it’s a reminder that these incidents aren’t rare or isolated. More than half involved spills of less than ten gallons. The wrong handling of even a few gallons can lead to disaster.
We’ve put together a 10 point infographic list at the bottom of this post for you to download, print, and use at your location! Proper in-depth HAZWOPER training program is a very important part of preparing for an accident, but here are the main considerations – the 10 rules for effective hazardous materials handling response, if you will – to help prepare for and respond to a HazMat spill:
- Practice Before the Real Thing
- Isolate the Area
- Always Wear the Right PPE
- Calculate the Risks
- Confine the Spill Immediately
- Stop the Source of the Spill
- Clean the Spill from the Center Out
- Decontaminate Everything
- Record the Spill
- Evaluate and Improve
By the Numbers: HazMat Incidents at a Glance
U.S. Hazardous Materials Incident Trends (2019–2023)
The 10 Rules for Effective Hazardous Materials Response
Whether you’re dealing with a 2-gallon drum leak or a full tanker spill, these ten principles form the foundation of every successful hazmat response. Skip one, and you’re not just risking property damage, you’re risking lives.
Rule 1: Practice Before the Real Thing
Training isn’t theory, it’s survival. Just like firefighters train with live burns, hazmat responders should run simulated spills.
Use safe, realistic substitutes like kitchen oil or colored syrup to practice using spill kits, donning PPE, and following cleanup protocols.
Why it matters? When adrenaline hits during a real incident, your team will default to their training. If they haven’t trained, they’ll default to panic. Real training builds muscle memory. When a 5-gallon drum of corrosive material breaches at 2 AM on a Sunday, your overnight crew won’t have time to Google “how to respond to chemical spills.” They’ll need to act immediately and correctly.
Pro Tip: Conduct quarterly drills with your team using mock materials like spill kits and groceries. Track time, accuracy, and PPE compliance.
Rule 2: Isolate the Area
The moment a hazmat incident occurs, your first action is simple but critical: stop people from entering the contaminated zone. According to OSHA’s HAZWOPER standard (29 CFR 1910.120), site control zones must be established early to prevent exposure and secondary contamination.
This seems obvious until you realize how many workplace incidents involve multiple victims because someone walked into an already-dangerous area to “help” or “see what happened.
Minimum isolation distances:
- Unknown chemicals or quantities: 150 feet in all directions
- Known small spills (< 55 gallons): 50 feet minimum
- Large spills or volatile materials: Follow Emergency Response Guidebook (ERG) recommendations
Pro Tip: Use pre-labeled barrier tape (HOT / WARM / COLD) so responders don’t lose time deciding zone layout under pressure.
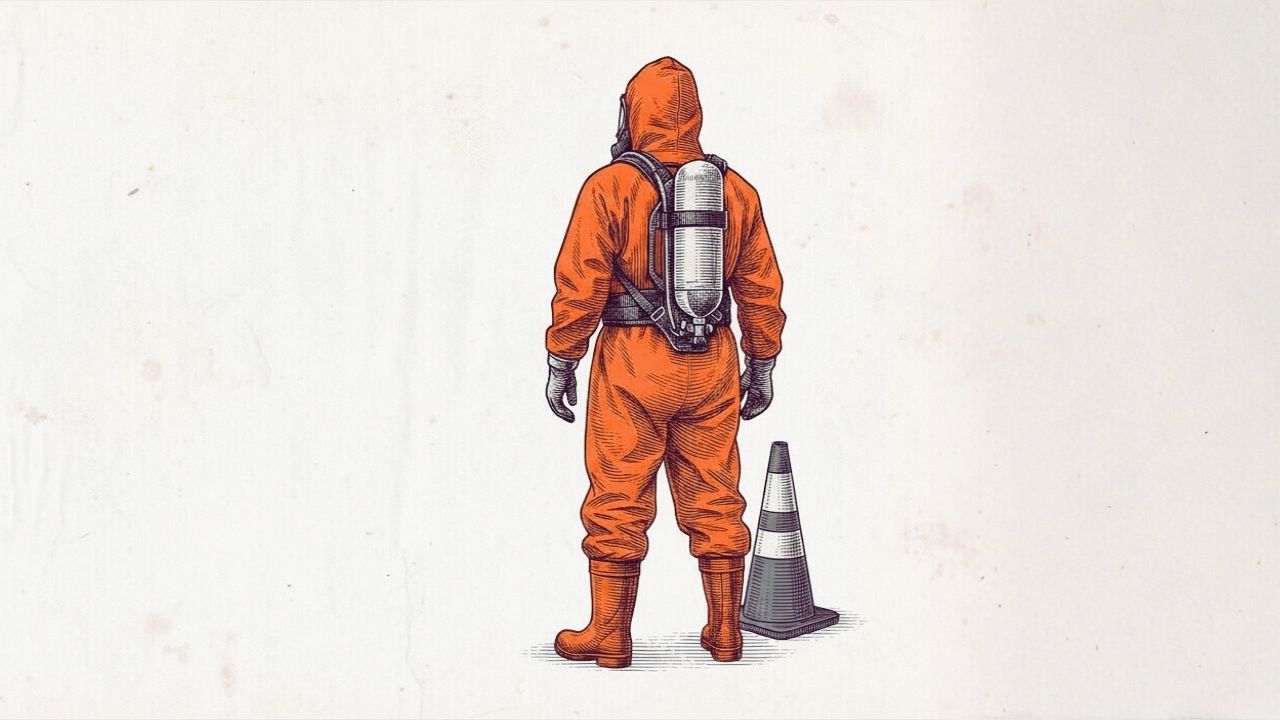
Rule 3: Always Wear the Right PPE
According to the U.S. Bureau of Labor Statistics, more than 20% of chemical exposure injuries occur because workers used the wrong PPE or skipped it altogether. Always assume the worst-case scenario until substances are identified. For unknown chemicals or high-concentration vapor releases, only a self-contained breathing apparatus (SCBA) provides adequate protection. This is non-negotiable. Every responder must know how to properly don and doff respirators and SCBA.
Minimum PPE for any hazmat cleanup:
- Chemical-resistant gloves (not your regular work gloves)
- Safety glasses or goggles with side shields
- Chemical-resistant apron or suit
- Respiratory protection appropriate to the hazard.
Chemicals can be inhaled, ingested, or absorbed through the skin and mucous membranes.Your PPE must protect against all three routes. If you’re not sure what level of protection you need, assume the worst until proven otherwise.
Pro Tip: Build a “PPE Don/Doff Wall Chart” and post it near spill kits and SCBA storage. Workers are far more compliant when steps are visually accessible in the moment.
Rule 4: Calculate the Risks
Before anyone acts, assess. The Incident Commander should decide whether to evacuate or contain and no one should act alone. OSHA requires at least two workers for any entry into a contaminated area (the “buddy system”).
Your incident commander (or team leader) must quickly evaluate:
- What spilled? Chemical identity, hazard class, quantity
- Where did it spill? Proximity to drains, ventilation systems, ignition sources
- Weather factors: Wind direction, temperature, precipitation
- Exposure potential: How many people are at risk? What’s their proximity?
- Resource availability: Do we have the right equipment? The right training?
Always notify EH&S of even small spills. One more thing nobody talks about: don’t let the spill “disappear” into drains or out the back door. What seems like an easy solution becomes an environmental violation, multi-million-dollar cleanup, and potential criminal charges.
For flammable or combustible spills:
- Immediately isolate from heat, sparks, or flames
- Shut down all welding operations in the area
- Be aware that ventilation fans, conveyors, and other electrical equipment can generate sparks
- Never operate forklifts or other spark-producing equipment near the spill
Pro Tip: Before an incident, pre-build a quick-reference checklist: ✓ ignition sources | ✓ ventilation | ✓ drain locations | ✓ chemical storage map. Crew members make faster, more accurate assessments when the site-specific risks are already documented.
Rule 5: Confine the Spill Immediately
Liquids spread. Your job is to stop them before they create a larger contaminated area.
Best practices from spill kit manufacturers:
- Deploy absorbent socks or non-absorbent dikes around the perimeter
- Height of containment should be twice the depth of the spill
- Width of containment should be four times the spill width
- Overlap absorbent socks to the outside to prevent seepage
- Use material specific to your spill type (universal, oil-only, chemical, etc.)
Why the extra space? You don’t want to confine the spill so tightly that continued leaking causes overflow. Build your containment with room for the full volume of the release. Follow up with absorbent pads and specialized materials (sand, clay, vermiculite, or commercial absorbents designed for your chemical type). Work quickly but methodically.
Pro Tip: Train crews to “walk the perimeter” before laying the first sock or dike. It forces a full visual of the spill footprint and reduces the chance of missing a drainage path or slope.
Rule 6: Stop the Source of the Spill
Containment buys you time. Stopping the source prevents the problem from getting worse.
Common source control methods:
- Leaking drum: Turn the puncture to the top; plug small holes with emergency patches
- Valve failure: Close upstream valves; apply temporary mechanical plugs
- Overfill: Stop filling operations immediately
- Transfer to another container: Ensure the receiving container is rated for the material and has adequate capacity
A word of caution: chemicals can react violently with incompatible containers. Just because a drum is empty doesn’t mean it’s safe for any chemical. Verify compatibility before transfer.
Pro Tip: Keep a universal plug/patch kit mounted next to spill supplies. In 80% of small industrial liquid leaks, a plug, wedge, or patch is the fastest temporary control method.
Rule 7: Clean the Spill from the Center Out
Cleanup isn’t just “mopping up.” It requires methodology to prevent recontamination and ensure complete removal.
Proper sequence:
- Start cleanup at the center of the spill (after absorption is complete)
- Work outward in concentric circles
- Remove containment barriers (socks/dikes) last
- Pack all contaminated materials into spill kit containers
- Seal and label containers for proper disposal
Do not rush this process. A spill that looks “clean” to the naked eye may still have hazardous residue that can harm the next person who walks through the area.
Pro Tip: Assign one person as the “Absorbent Manager.” Their only job is tracking pad usage, swapping saturated materials, and ensuring waste buckets don’t exceed fill levels.
Rule 8: Decontaminate Everything
Decontamination means more than bagging up absorbent materials. It means ensuring every person, every piece of equipment, and every surface that contacted the material is properly cleaned. NIOSH studies show 70% of contamination events occur during PPE removal.
Decon checklist:
- People: Wash chemical protective suits before removal; properly doff PPE in designated decon zone
- Equipment: Clean monitoring devices, hand tools, containers used during response
- Respiratory protection: Properly clean and disinfect reusable respirators per manufacturer instructions
- Response area: Wipe down all surfaces; wet-mop with appropriate cleaning solution
Know what you’re decontaminating and use the right cleaning agents. Using the wrong decontaminant can make things worse (or have no effect at all).
Pro Tip: Use a three-bucket method during decon: Gross removal: high-volume water or detergent rinse | Neutralization (if applicable): per SDS guidelines | Final clean water rinse: It keeps contaminants from being reintroduced during suit removal.
Rule 9: Record the Spill
Documentation isn’t paperwork, it’s protection. Record keeping is legally required and the spill may have a long term effect.
Spills that meet reportable quantity (RQ) thresholds must be reported to the EPA and National Response Center under 40 CFR 302.6.
Maintain internal records of even minor spills to identify trends and training needs.
What must be documented?
- Date, time, and location of incident
- Material involved (name, quantity, UN number, hazard class)
- How the release occurred
- Response actions taken
- Personnel involved in cleanup
- PPE used
- Waste disposal method and disposal facility
- Injuries or exposures (even if “minor”)
Required reporting:
- State environmental agencies and EPA: Certain chemical spills must be reported by phone immediately
- OSHA: Any incident resulting in worker death or in-patient hospitalization of three or more people must be reported within 8 hours (1-800-321-OSHA)
- Insurance carriers and workers’ compensation: May have specific reporting requirements
- Note: If someone has a heart attack during spill cleanup, even if they weren’t directly involved, it must be reported to OSHA
Pro Tip: Photograph everything – the spill, the source, PPE used, dike placement, waste containers, and the final cleanup condition. Photos reduce future liability and support EPA/OSHA reporting.
Rule 10: Evaluate and Improve
Every incident whether it was handled flawlessly or exposed gaps in your response is a learning opportunity.
Post-incident evaluation should cover:
- What worked well?
- What didn’t work as planned?
- Did we have the right equipment?
- Did we have adequate training?
- How long did response take? Could it have been faster?
- Were communication protocols effective?
- What do we need to change before the next incident?
Use these insights to strengthen your Emergency Response Plan (required by OSHA 1910.120(q)(2)) and prevent future mishaps.
Immediate action items after any spill:
- Replace your spill kit: Order complete kits from the manufacturer; don’t try to piece together components (you’ll forget something, and the exterior may be contaminated)
- Monitor exposed workers: Track anyone involved in cleanup for potential health effects
- Update response procedures based on lessons learned
- Conduct refresher training if gaps were identified
Continuous improvement isn’t optional. Each incident should make your response better, faster, and safer.
Beyond the Checklist: Building Real Capability
The difference between organizations that handle hazmat incidents well and those that don’t comes down to three factors:
- Quality of initial training: Did your team receive comprehensive, scenario-based instruction that prepared them for real-world conditions? Or did they click through generic PowerPoint slides and answer obvious quiz questions?
- Regularity of practice: Do you run quarterly drills with realistic scenarios? Or do you “check the box” once a year with a walk-through that nobody takes seriously?
- Organizational commitment: Does leadership invest in proper equipment, adequate staffing, and ongoing education? Or are you operating on a “good enough” mentality that puts people at risk?
Organizations that excel at hazmat response don’t treat training as a compliance requirement. They treat it as a core competency, something worth investing in because lives depend on it.
Ensure your team has the training they need.
👉 Explore eTraining’s complete HAZWOPER course library
👉 HAZMAT Technician Training course for advanced emergency response personnel
FAQs
1. What qualifies someone as a HazMat First Responder?
A HazMat First Responder is any employee trained to recognize, isolate, and report a hazardous materials release. Under OSHA 29 CFR 1910.120, this includes Awareness-level responders (who secure and call for help) and Operations-level responders (who protect people, property, and the environment but do not stop the release). Stopping a leak is reserved for HazMat Technicians trained under 1910.120(q)(6)(iii).
2. How do I know if a spill needs to be reported to the EPA?
Check the chemical’s Reportable Quantity (RQ) in 40 CFR 302.4. If the amount spilled meets or exceeds the RQ, it must be reported to the National Response Center immediately. Common RQs range from 1–5,000 pounds, depending on toxicity and environmental risk.
4. How quickly should a spill be reported?
Immediately. OSHA, DOT, and EPA all require instant notification internally, and certain releases must also be reported externally to the National Response Center (NRC) under 40 CFR 302.6 if they exceed Reportable Quantity (RQ) thresholds. When in doubt, report it. Underreporting creates liability and slows emergency response.
References: Pipeline and Hazardous Materials Safety Administration (PHMSA), U.S. Bureau of Labor Statistics, National Institute for Occupational Safety and Health (NIOSH)/Centers for Disease Control and Prevention (CDC)
10 point infographic list for you to download, print, and use at your location!